A few years back, I got interested in my family history. My grandmother had been telling us all stories for years, but at some point, a switch flipped in my mind and suddenly I had an intense interest in stringing these stories together. I thought I’d write up my method for researching including some of the tools I use. Please excuse the verbose brain dump but I wanted this page as a reference to be a one-stop shop for myself as well as anyone who is interested in genealogy.
Genealogy
Tips and Tricks to Optimize Your Photo Archiving Process
Archiving family photos can be a monumental task. Scanning tons of photographs, editing them, and keeping track of what information might be on the backs of those photographs is generally an incredibly tedious process. Especially when there are hundreds or thousands of photographs to scan!
Using the GIMP scripts and plug-ins described in our earlier posts, you can easily improve your throughput when dealing with these images. This post will discuss a few things to keep in mind to help make the process even faster.
Read moreTips and Tricks to Optimize Your Photo Archiving Process
Matching up Fronts and Backs of Scanned Archival Images
Sometimes photographs have important information written on their backs such as who the image is of, and when and where it was taken. Keeping track of which backs-of-an-image front match can be maddening if you have hundreds or thousands of archival images. Using the method described in a previous post, you can scan multiple backs at once and have them automatically separated and then use the method described in this post to combine the fronts and backs automatically in the same image side-by-side, saving you a lot of time and hassle!
I found a GIMP script online that combined and scaled multiple images. In archiving, scaling is a “four-lettered word.” I modified the script to keep the original scale and to have the options to automatically save the resulting files.
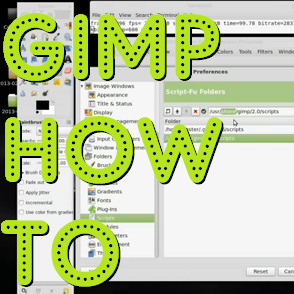
First you need to install the script. Open Gimp, and go to “Edit–> Preferences–> Folders–> Scripts.” This will show you the directory to download the following scripts to : Adams Combine.scm.
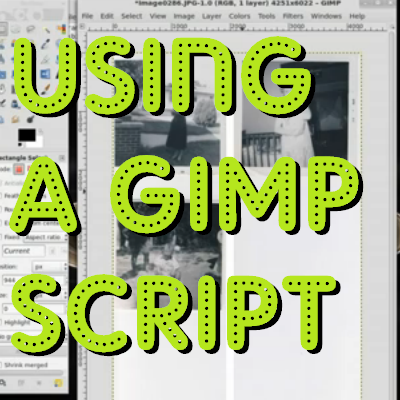
Load two images (the front and the back of a particular photograph) in GIMP. Then, select “Filters–>Archiving–>Adams Combine Images” from the top menu bar. A new window will pop up. Select which image you want on which side. You can select to automatically save the images with the settings below and to automatically close the resulting image, or you can keep the image opened for editing.
Simply go to “Filters–>Archiving–>Adams Combine.” A new window will pop up allowing you to select which image you want on the left, and on the right. You can either save the resulting combined image automatically, or you can leave it opened for editing and manual saving later. The default file type is TIFF, but you can change this if you want to reduce quality and file size. Feel free to change the default file name to match your archiving scheme. If you are saving more than one image, make sure to change the file name. The script will overwrite files with the same name without asking you about it so always enter a unique file name.
Once you click “OK” the script will work its magic. The resulting image will consist of the front and back of the two images you opened. Once this new file is saved, you can delete the originals If you want to save space.
Recap:
- Open both the back and the front of a particular picture in GIMP, and run ‘Adams Combine’ script to combine the two images to a single image.
- Feel free to delete the ‘extra’ images if you want.
Archiving Family Photos Quickly and Easily: The Correct Way
Recently, I’ve taken it upon myself to archive some of my grandmother’s pictures of our family. Archiving photos is a daunting task for anyone who does it correctly. Hundreds of images, (many of them with important information on the back such as names and dates) need to be scanned (matching both front and back image), and cataloged in some way. I am not a person with a lot of time on my hands, so I came up with a more automated solution to archiving by modifying some GIMP plug-ins to help me with most of the tedious parts. This is the first part of a series dealing with archiving and genealogy.
Read moreArchiving Family Photos Quickly and Easily: The Correct Way
Installing Archiving Software, Scripts, and Plugins
For archiving scanned images of family photographs, I modified some scripts to use with Gimp to speed the process along. This post will explain how to install these scripts to the correct folders in order for them to work.
First, You need to install Gimp photo manipulation software. This is similar to photoshop, but it is free and open source. Gimp is available for Windows, Linux and Mac. Since I run Linux on my computer, I can’t easily install photoshop, and Gimp does just as well once you learn to use it. Instructions for downloading and installing Gimp can be found on their downloads page.
If you want the script to automatically attempt to straighten your individual images automatically before saving them to file, you will need to install the ‘deSkew’ plug-in. You can find which folder to install it in GIMP in a similar fashion to above “Edit–> Preferences–> Folders–> Plug-ins.” Note that this is different from the scripts path! For some reason the original host of this plug-in has disappeared, but the files are available in links in the comments of the ‘deSkew’ page of the GIMP Registry.
Windows:precompiled executable available here.
Linux: Download this project by clicking the “Zip” button on the GITHub page. Unzip the folder and read the install instructions from the README file. You have to make the project, but it isn’t complicated. You will need to give the resulting program executable permissions, and then copy it to your /…/gimp-2.0/plug-ins folder.
UPDATE: As of 2023, The links I marked out above do not work. deskew is no longer maintained from what I can tell. I did find this github site with a copy of the plugin.
You can download the archiving scripts I modified from our GitHub Code site. You will need both of the scripts shown on the webpage. If there are multiple version, be sure to get the ones with the latest dates. Simply install these into the “scripts” folder in the gimp installation directory as shown in the video.

This video explains where and how to install all of these files:

