
Ikea is no slob when it comes to designing great affordable furniture. We chose the Sniglar Crib when our daughter was born because it was solid wood, with no weird finishes or chemicals on it that converted to a bed for about $100. (It looks great too BTW). There’s no end to the hacks for these online, but we hadn’t seen any producing exactly what we wanted so we made our own. I mean, people convert these things into clothes drying racks, porch swings, benches, desks for both adults or children, magazine racks, a baby cage (playpen), you name it. Our hack is much simpler than these.
When our daughter outgrew the crib, we converted it to a daybed as the instructions show, however our daughter kept falling out. Lots of folks online recommended buying a wider piece of wood to replace the bottom support beam which would come up past the mattress. We didn’t like this for several reasons. Firstly, it doesn’t match the aesthetic of the crib. Secondly, we’d have to buy something extra. Thirdly, it is a solid piece of wood, which if your kid rolls over with their face toward the board could restrict breathing a bit.
Our solution was to take the extra side of the crib which the support beam replaced (when it was converted to a daybed) and cut the dowels shorter. I only found one other person who did this, but even that seemed like too much work.
My way is very simple and uses only 4 dowels (you might have to get these, or use cut up parts of a pencil).
First, mark the height you want the new 4th wall to go on the crib and measure to the bottom of the bed support. for us, we likes 11 inches high. You can see that our little helper got ahold of the pencil and tried to help us out by tracing the mark for us.

Measuring from the top edge of the piece we wanted to cut, I wrapped masking tape around each dowel at about 11 inches to prevent tear-out when I saw them. I then marked each dowel at 11 inches and cut each of them using my favorite pull saw for a fast and clean cut. There’s about 20 dowels but it took only about 10 minutes to cut them all by hand.
We then loosened the sides of the crib to give ourselves some working room by turning the bolts and prying the sides slightly apart. The top rail of the crib has two holes for 5/16” dowels on either end. To transfer the position of these holes to the edge supports of the crib, we put our new short side in place. We didn’t attach the bottoms of the dowels to the crib, we just sat them on the bed support frame. This is fine because the top of the crib has two small dowel holes to attach to the crib’s side supports. If there was only one dowel there, it could spin and move but since there are two used it locks the new side into place.

To attach this new shorter side, we made sure it was level and used the dowel centers from a dowel kit I had purchased years ago for some random project (who remembers…) to mark the position of the holes onto the edge support beams of the crib. I was careful not to drill these holes all the way through when I drilled the holes for the new dowels. The doweling kit comes with a drill stop, but I find that tape works better and is quicker to apply. This was done on each side to finish the project.

When finished, we pressed in the new dowels into the holes and turned the bolts on the base to lock all the sides in position.
I’d like to say that this solved the problem of finding my daughter on the ground when I check on her 30 minutes after putting her to bed, but as it turns out, she can no longer fall out of the bed; rather she is now crawling out and bringing her cover and pillow to sleep on the floor next to the bed. Some battles you just can’t win.


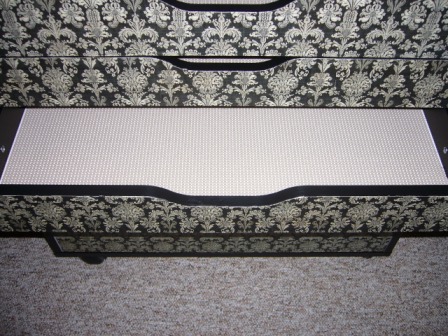
 Adam and I had been in search for a drawer system for use in our office, and then there it was, the Ikea Alex. Everything was right. It was the perfect height. It had plenty of long thin drawers, perfect for tool organization. It even had wheels. We excitedly perused our color options; white, white, or white. Hmm….